Rebuilding Strong Platter Motors
We all know that STRONG charges over $400.00 for a new motor for the A-3 and the AP-3 platters. But heading off to Grainger and buying a 2M262, dual stage vacuum motor for $78.00 can save quite a bit on the expenses, especially if the theatre is on a budget for operations, or just need a quick fix the next or same day, instead of waiting for the delivery time from Strong. Only thing on this is that there is no warranty or guarantee if the motor does some accidental damage to the variac bolted to the bottom of the platter tower being an aftermarket attachment (even though STRONG uses these same LAMB motors).

Assembling the tools needed for the operation.
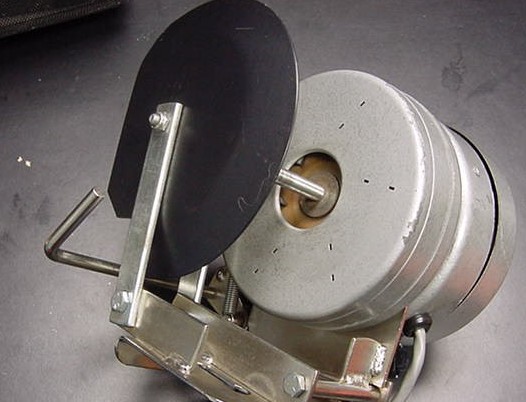
As one can tell, this motor's front bearing seized very well with the presence of rust on the impeller.
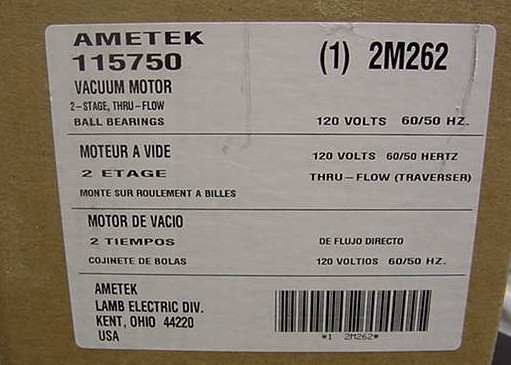
Description of the motor from Grainger, which is catalog #2M262 .

This is what the vacuum motor looks like out of the box from Grainger.
This is actually a dual stage vacuum motor, in which we need to take off the front stage of the assembly.
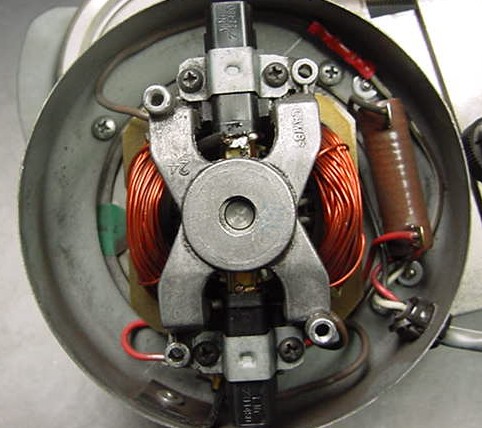
Removing the back cover of the old platter motor assembly, we can see the 3 mounting, self-tapping screws (one is hidden behind the wire coming into the frame).
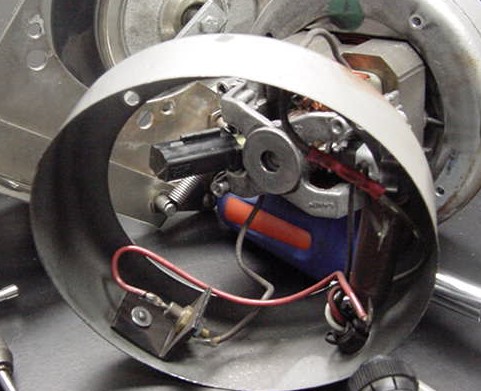
Rear frame after being disconnected from the front frame.
One brush has to be removed from the brush mount to allow the rear frame to slide over the brush/"com" assembly.
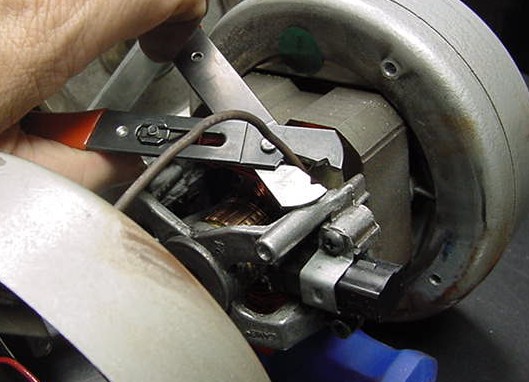
Cutting the wires close to the brush/com assembly on the old motor. We will splice into these wires upon reassembly.

Rear Frame removed from old assembly with enough wire lenght for resplicing to new motor.
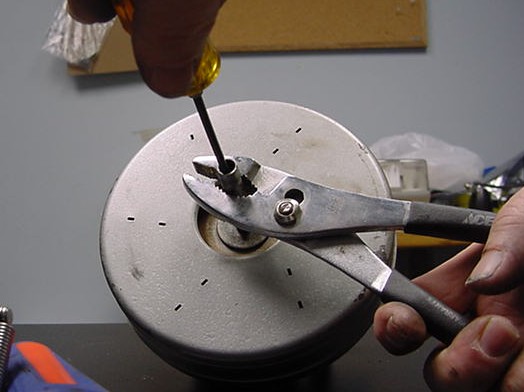
Using a 1/8"screwdriver Allen and pliers to remove drive tire collar from motor spindle.

Showing sleeve being removed from motor spindle.

Showing the front of the two motor assemblies-the differences between the two.

One has to remove the cover of the front stage of the new vacuum motor assembly.
Showing the impeller and directional vanes under impeller.
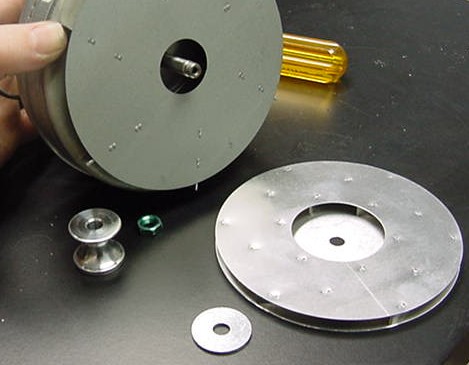
All of these items must be removed from the spindle. Impeller, belt pulley and green nut.
Washer goes back on spindle upon reassembly.

Showing the results of the removal of the directional vanes from the front of the rear stage impeller assembly.
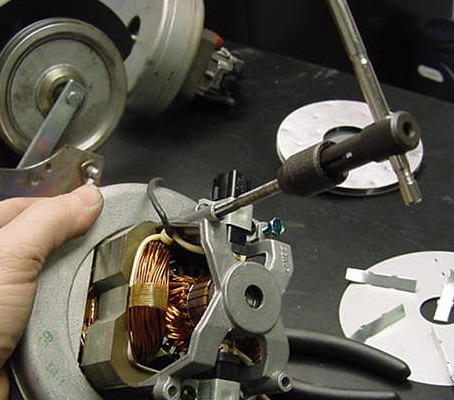
With a 10x24 tap, the holes located at the rear of the brush/com assembly must be tapped out for the rear cover mounting screws.
All of these holes are not tapped out since the factory uses a drill press to drill in the self tapping screws.
But on these rebuilds, tapping these holes out aids in the rebuild considerably.

Tapping the holes around the rear assembly for bracket mounts

Showing the remounting of the rearassembly, and once again taking off one of the brushes to allow the ring to slip over the brush/com assembly.

One hole has to have this spacer bushing since the bracket isn't being mounted in this area.
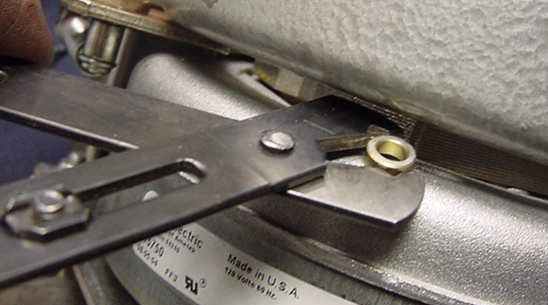
Using these Xcelite wire snips, where they are slim in a way, in aiding in placing this bushing in place.
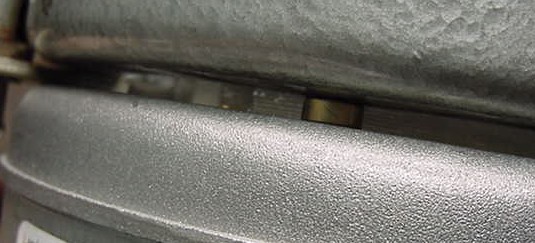
Showing the bushing mounted.
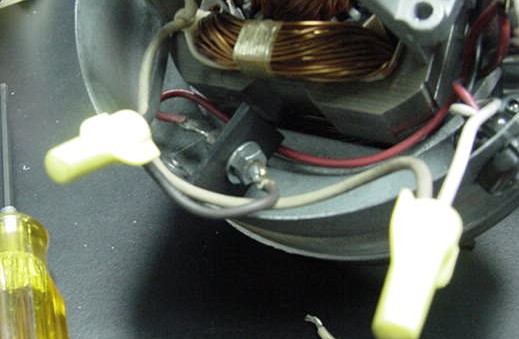
Wire nuts splicing the wires from the motor back to the rear ring assembly.
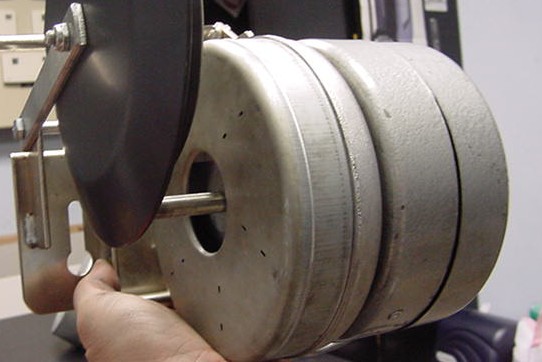
The completed motor assembly.

Mounting the motor back on the platter assembly. An easy install is to take off the platter deck, and with the A-3 units, switch to the "rewind" position during film play to help seat the new brushes in. If using the AP-3 platters, attach the MUT and use the MUT's control's to run the motor at 50% of voltage to help seat the new brushes for a good half day, or a good shift. I've done a good 2 dozen of this rebuilding of these Strong platter motors and never had any problems afterwards. Saved a good bunch of money doing this.
Special thanks to Monte Fullmer for this tips page.