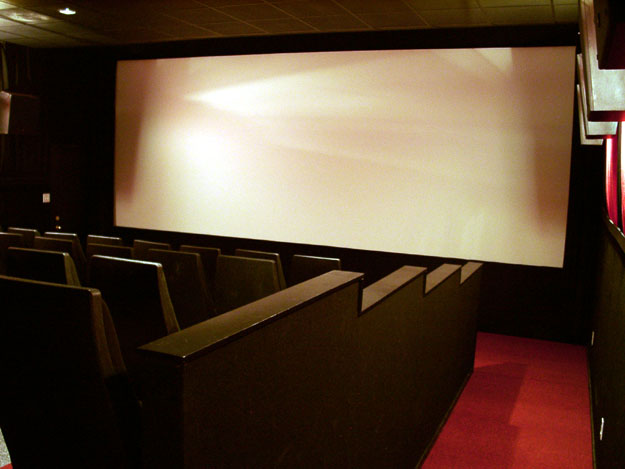
Here is the auditorium with it's 23 foot wide microperf Harkness Hall screen.
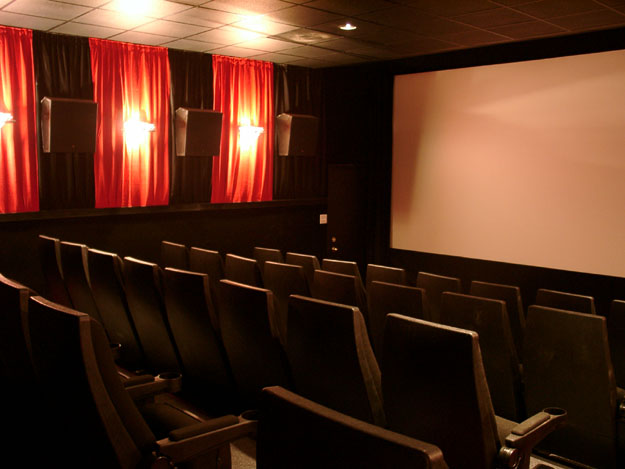
Seating is Mobilario Concorde Rockers.
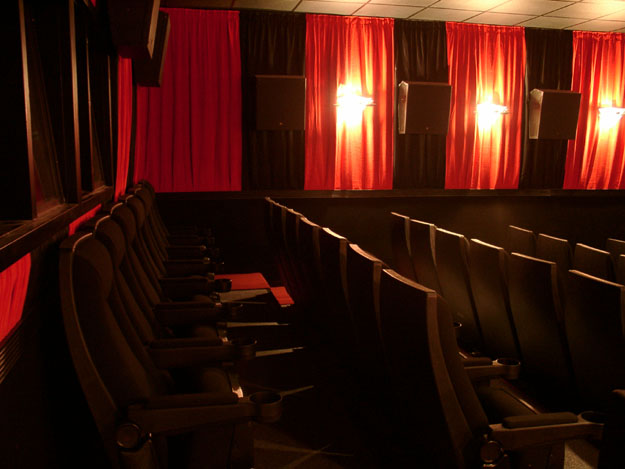
There are 12 JBL 8340 surrounds in an EX configuration.
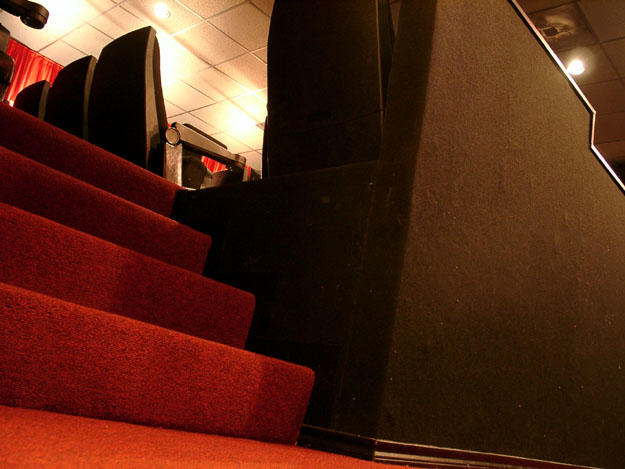
The back stairway entrance.
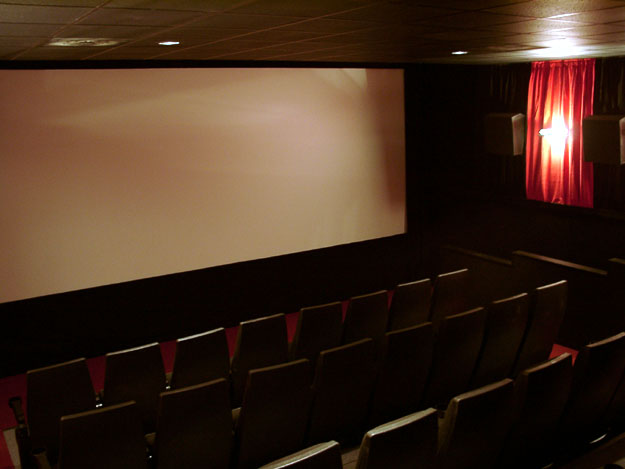
Behind the screen are 5 JBL 4675C-8LF stage speakers and 5 EV T-880 dual subwoofers.
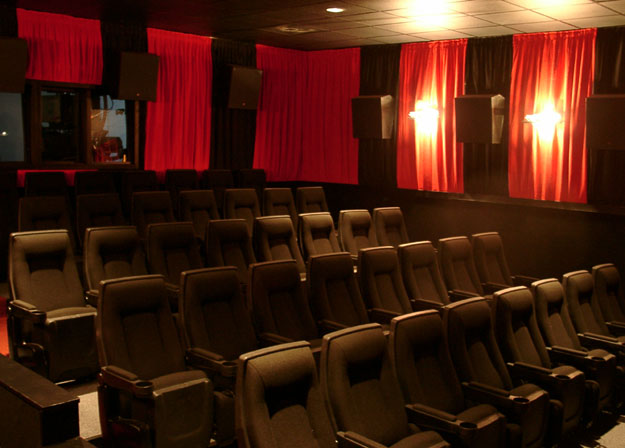
Red velour double layer curtains and an acoustic drop ceiling help to deaden the acoustics.
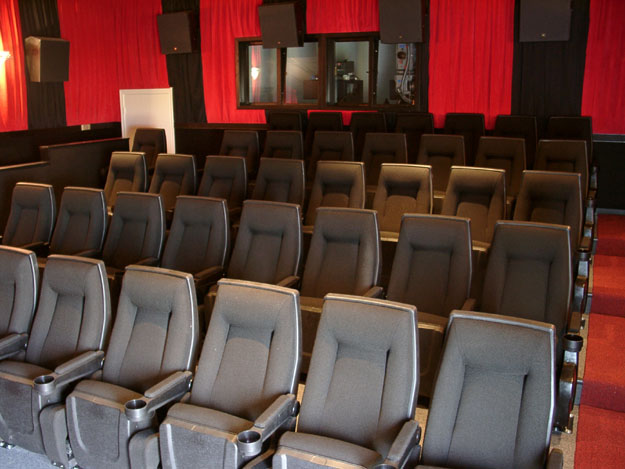
The dual port windows are ProWins. A 5th window has since been added.
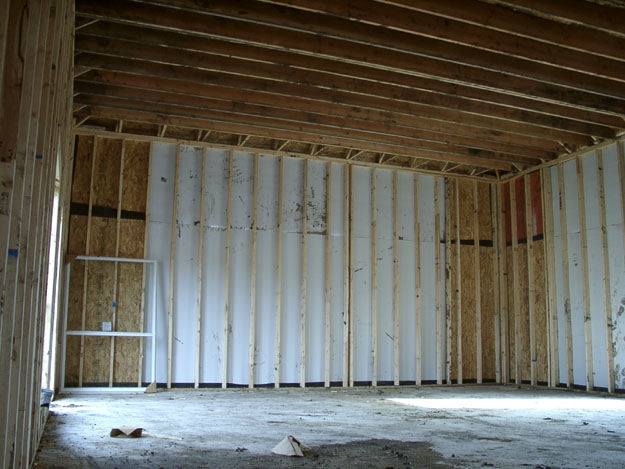
Here is the room the way it started.
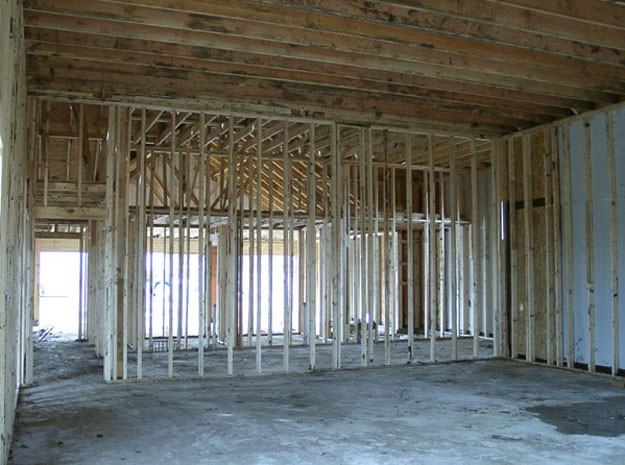
Reverse shot of the room with booth and restroom in the rear.
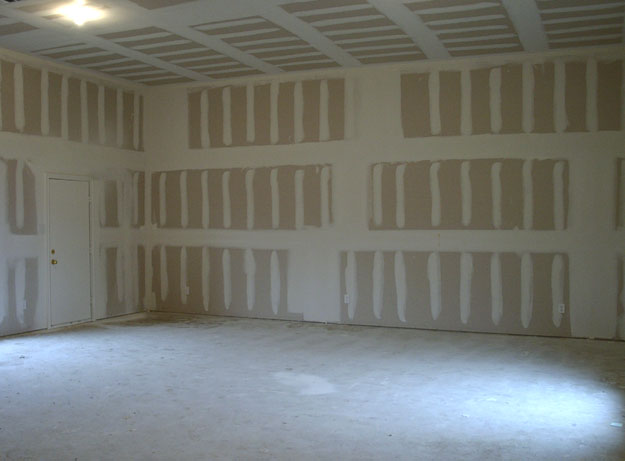
The room after drywall.
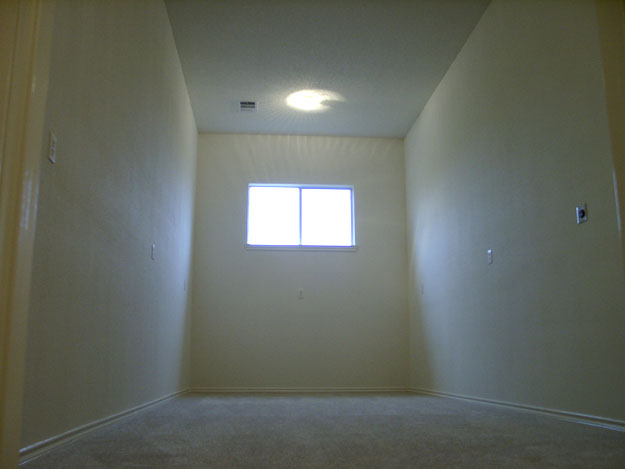
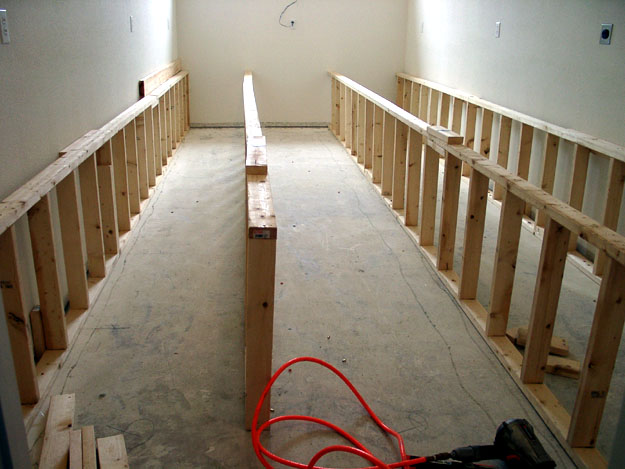
The booth without the raised floor.
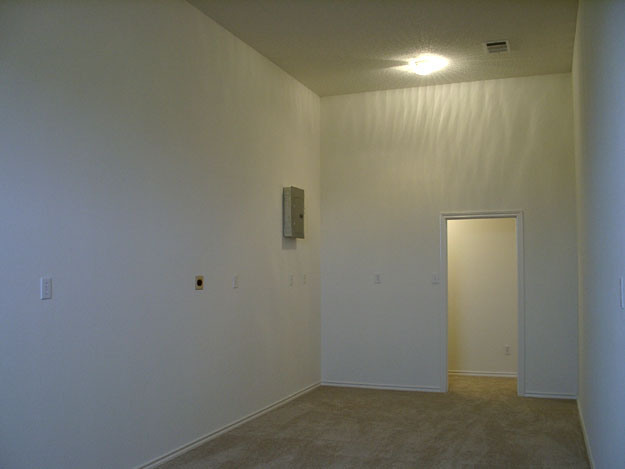
Reverse shot of the booth. Now it's time to get started.
And the raising of the booth floor begins.
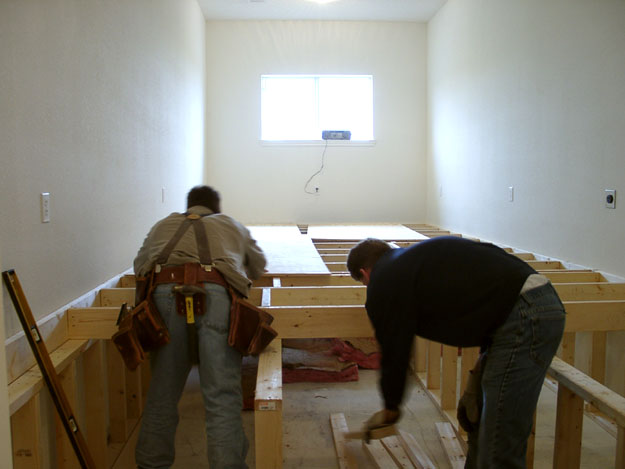
This project took two days to complete.
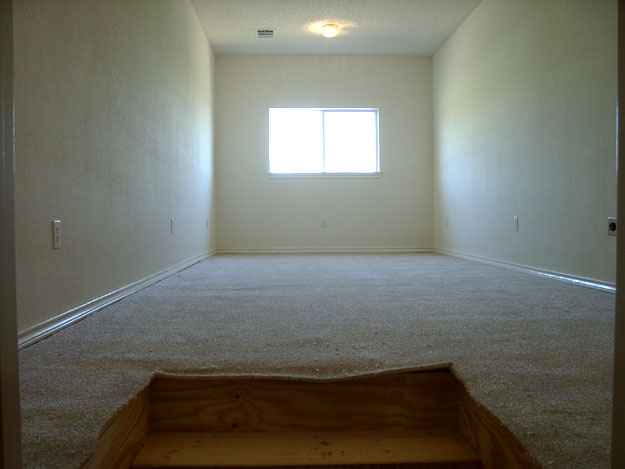
The finished booth with raised floor.
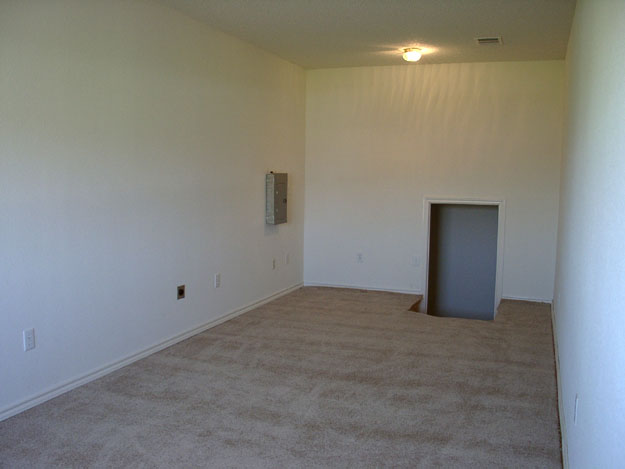
Reverse shot of the finished booth.
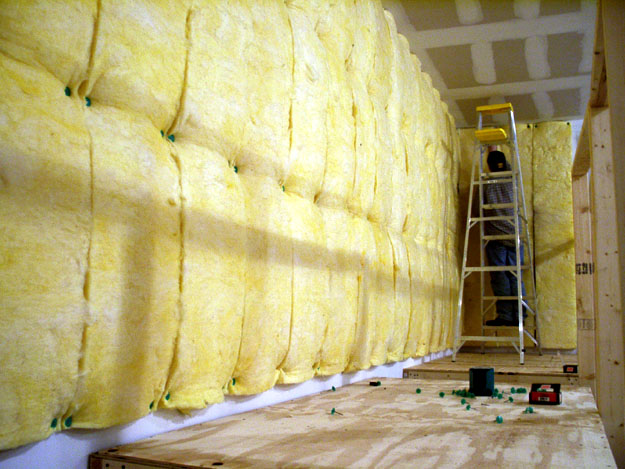
Meanwhile in the auditorium a stage has been constructed and work begins "behind the screen".
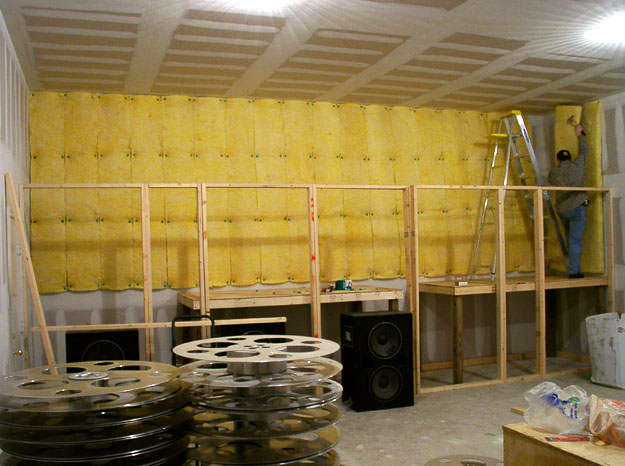
The frames you see resting on the floor will later be raised up as the main frame of the baffle wall.
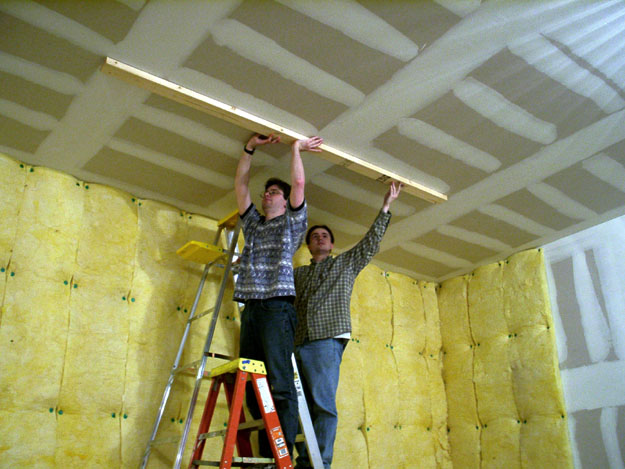
The measurements are made for the final baffle position. (That's Dwayne Caldwell and Jeremy Spracklen in the picture.)
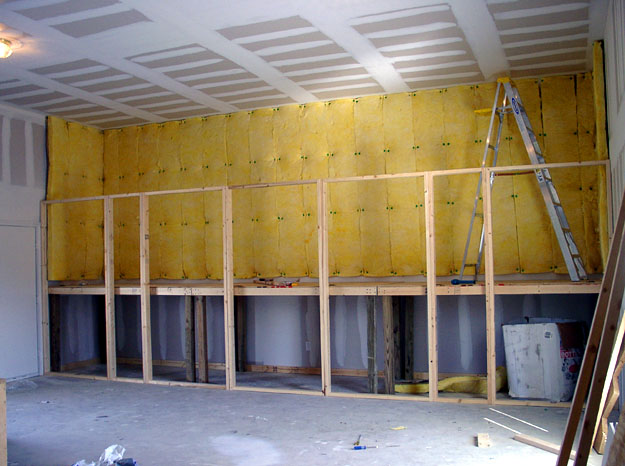
A shot of the finished stage before the braces go up. The subwoofers will go below.
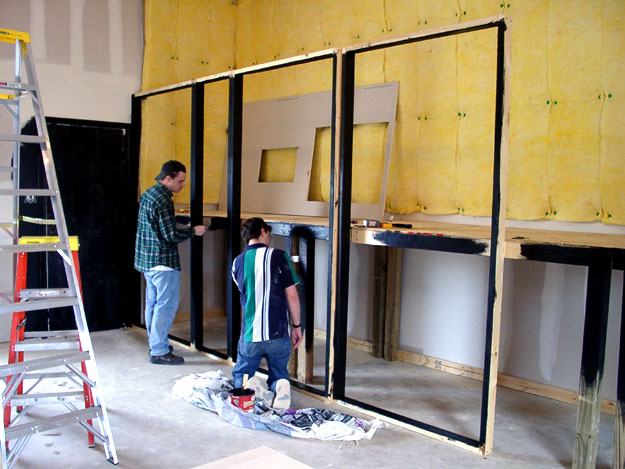
First the braces must be painted black to ensure there are no light reflections through the screen perforations.
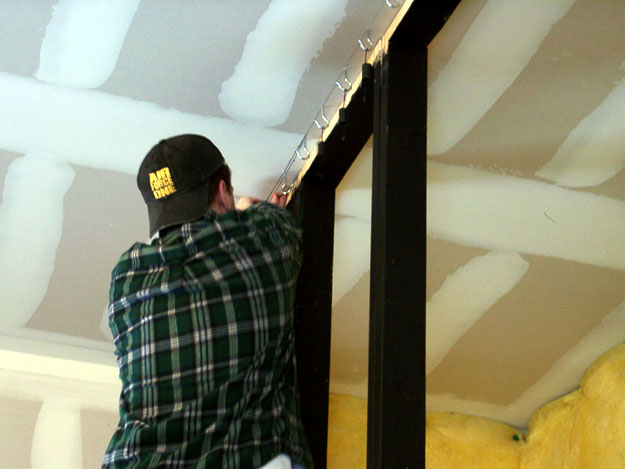
Here hooks are being screwed into the ceiling jousts that are to ultimately hold the screen. Unfortunately as we found out later, the exit door was off just a bit from the plans, so the screen's placement had to be modified.
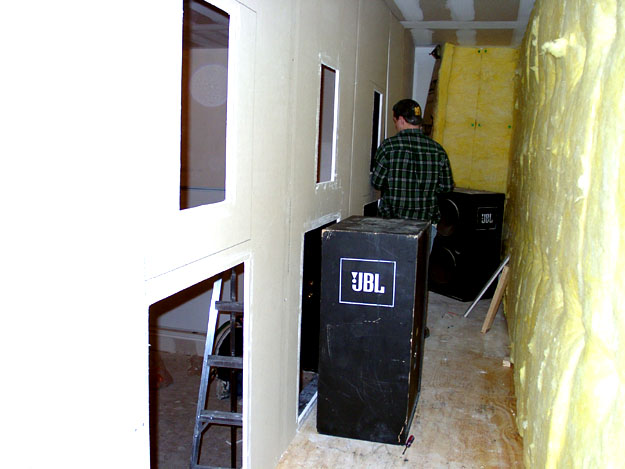
The drywall is put into place...
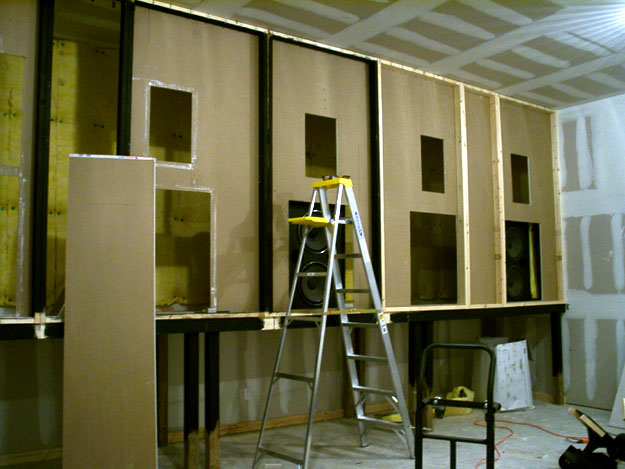
...as things start to come together.
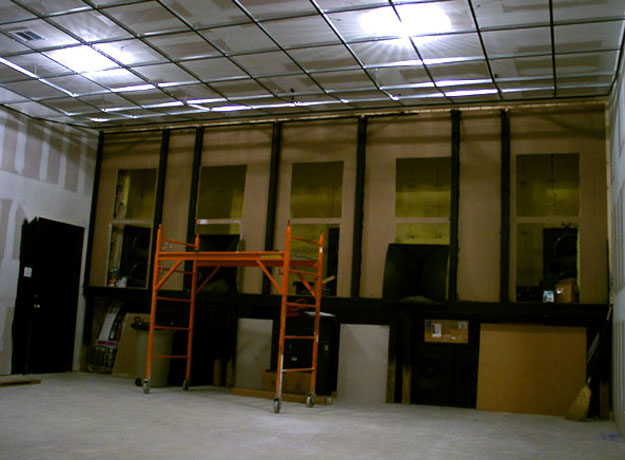
Due to the construction error with the exit door placement, the openings had to be enlarged to almost the size of the horns and the screen will end up resting about 1/4 of an inch from the front end of the horns. Here the ceiling tile grid construction commences.
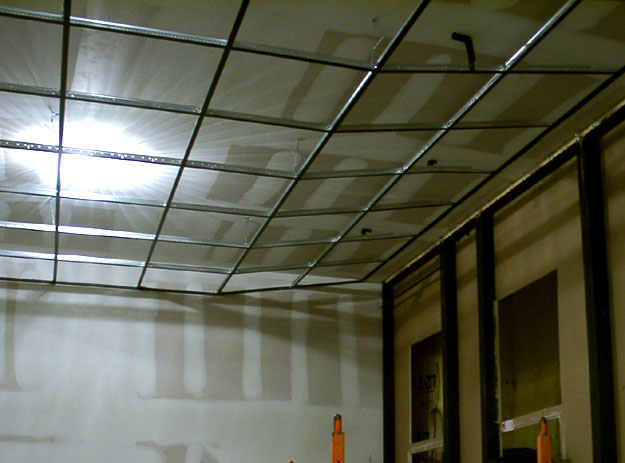
To ensure that the screen is as large as the room can handle, the front of the grid is angled upward.
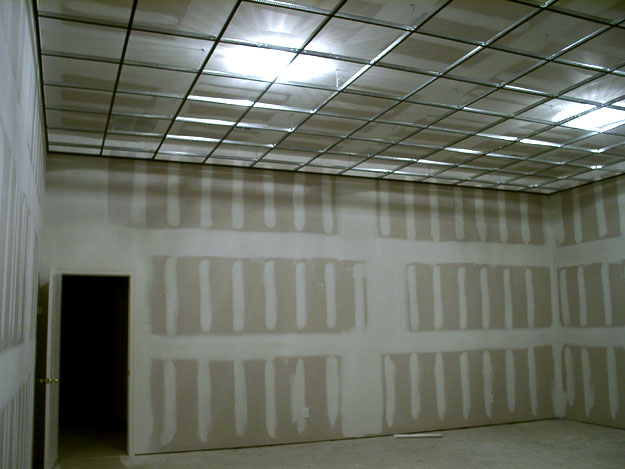
The finished grid construction as viewed from the front of the auditorium. (Note no opening to the booth for port windows has been created yet.)
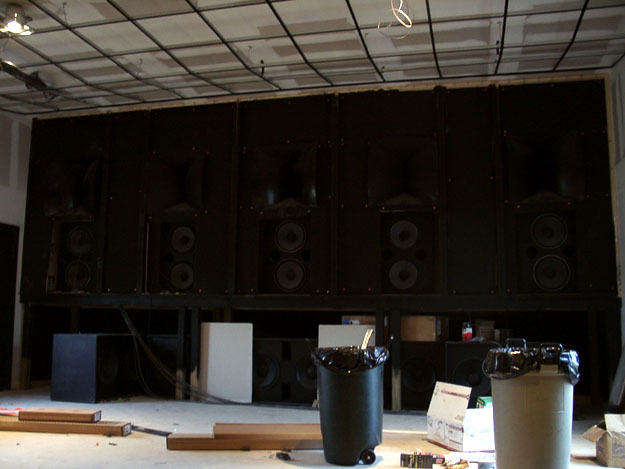
Before the ceiling grid is completed, recessed ceiling lighting and later AC vent extensions must be installed. Also, by this point the stage speakers were in position.
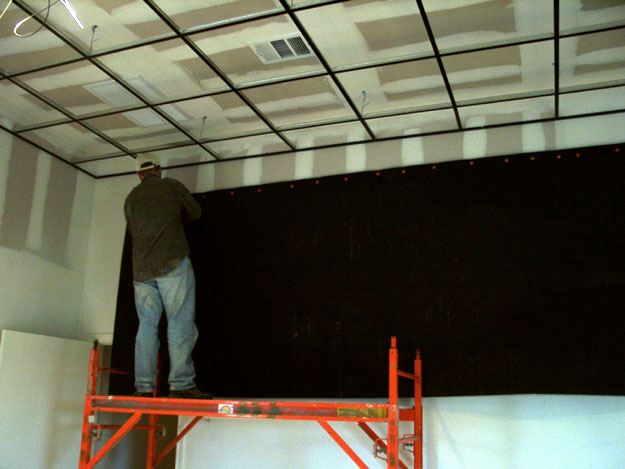
Before the curtains are hung, Linacoustic duct liner is placed on the walls to provide extra sound isolation.
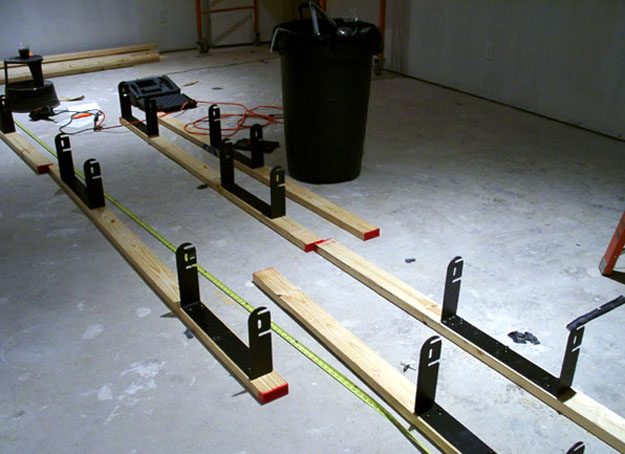
Here we have the surround speaker mounting brackets measured out and pre-bolted to boards that will be bolted to the walls.
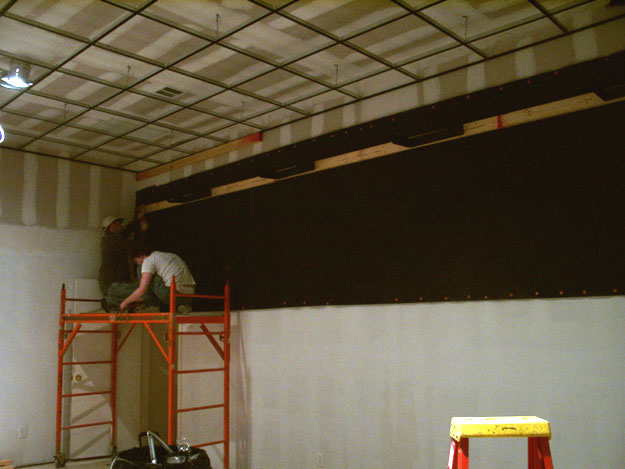
Here is the back wall of surround brackets being mounted.
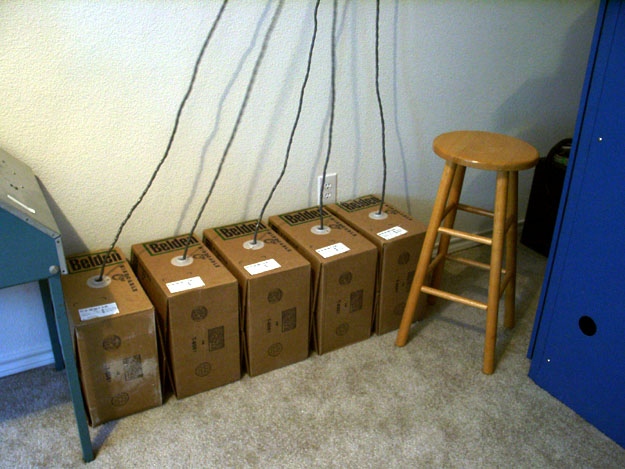
Once the surround speaker brackets are mounted, it's time to start pulling speaker cable. (5 boxes ended up not even being close to enough! There are a total of 34 speaker lines pulled into the auditorium.)
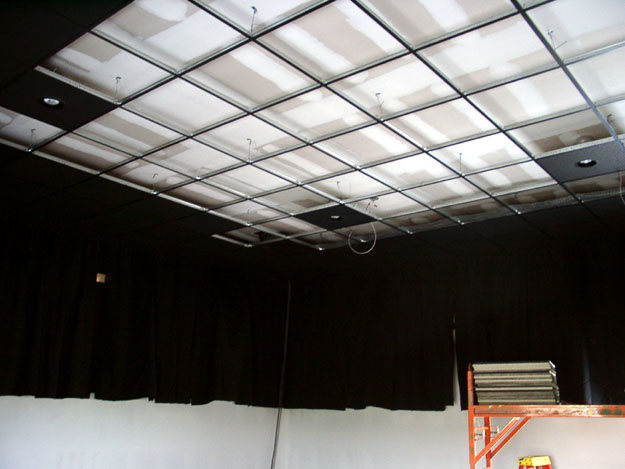
Once the wiring is in place, the first layer of drapes are hung.
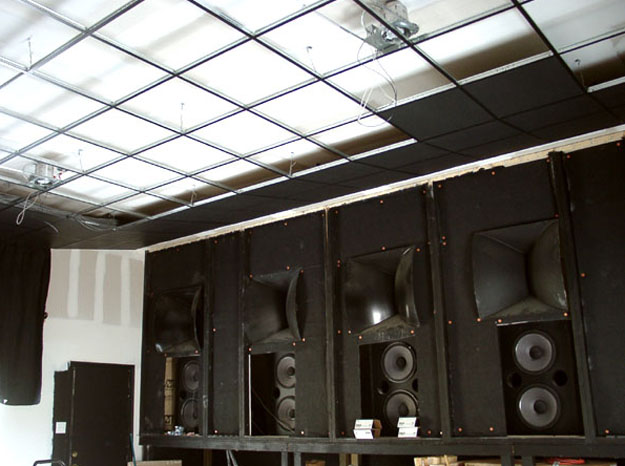
Here we have some of the ceiling tiles in position and the stage speakers also roughly in position.
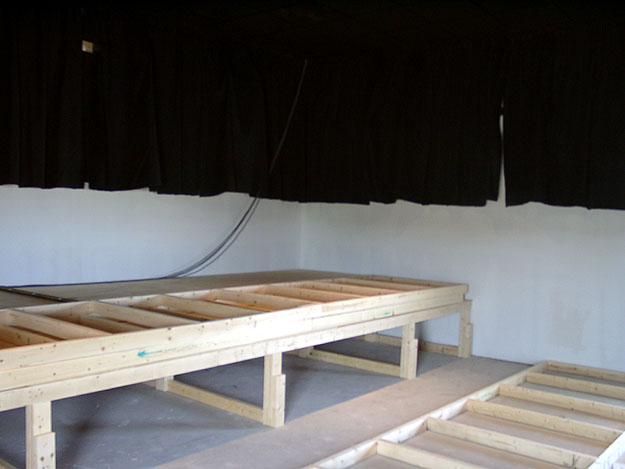
Now it's time to build the stadium seating.
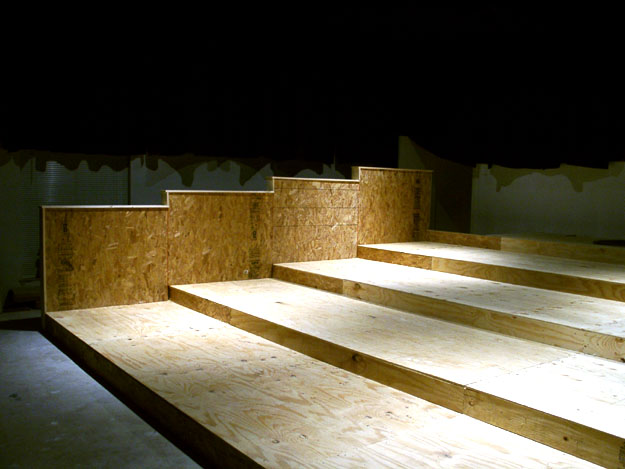
Two days later and here we have it.
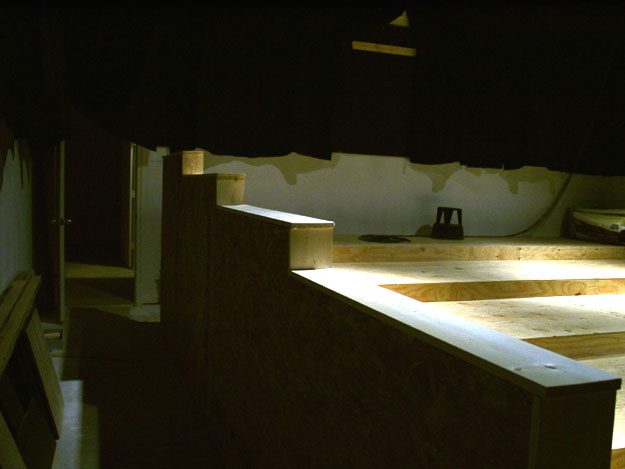
A side shot of the finished risers.
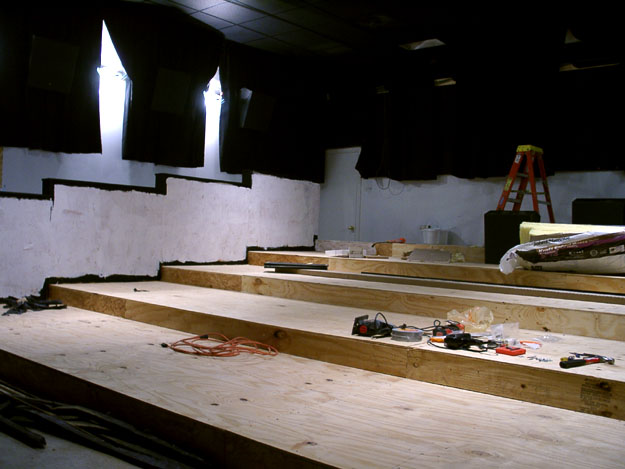
After adding the sconce lighting, it's time for wall carpet. As can be seen here, the half wall has been prepped.
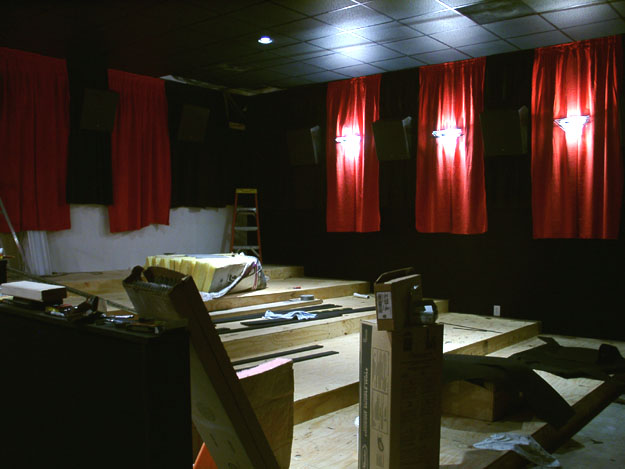
And here we can see some of the wall carpet is now up. Also the red velour and surround speakers have been hung.
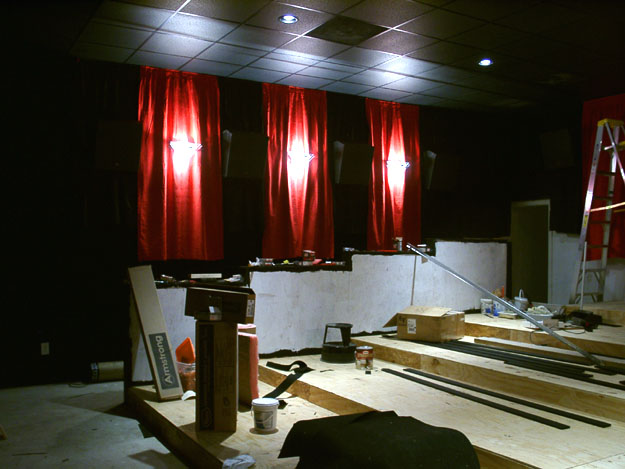
Reverse shot. The trimboard joining the curtains and the wall carpet has not been mounted yet. (Look 2 pictures further down for the finished joint.)
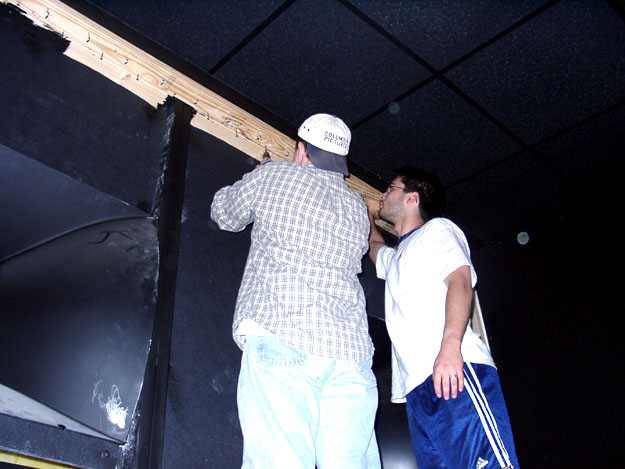
Next it's time to hang the screen. Ethan Harper joins in on the fun to give us a hand. Yet another modification to the plan includes extending the screen forward 2 inches because of that exit door. Jeremy has made "dust graffiti" on the horn showing he was there.
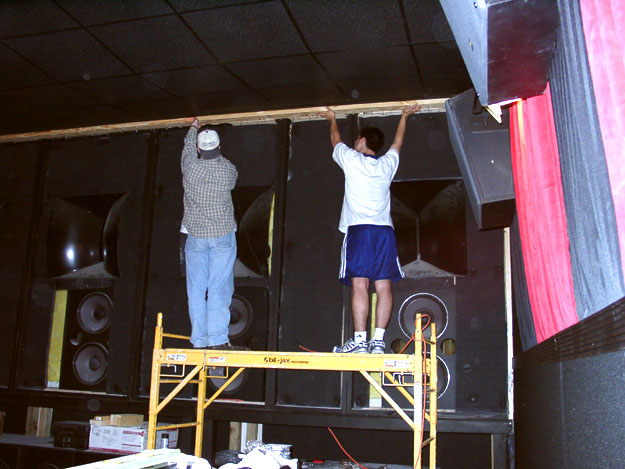
Here the new screen hook board is put into position.
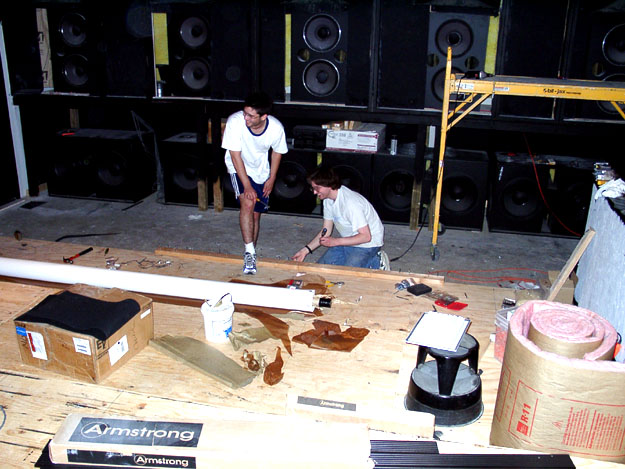
Here Ethan and Dwayne prepare the final board to complete the frame.
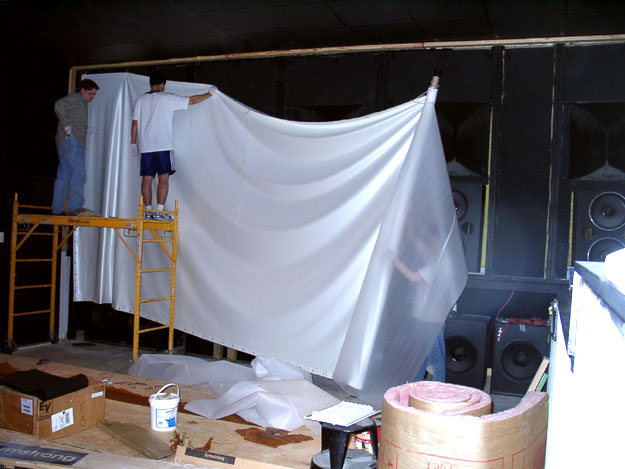
Now it's time to unroll the screen. Screen hooks are used to hold the screen in approximate position while the string is ran.
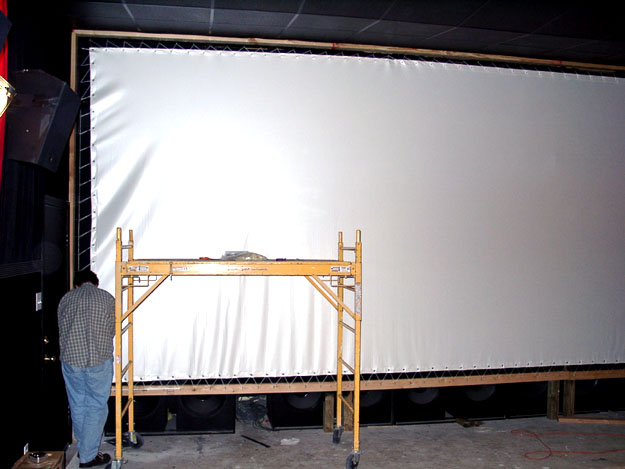
Jeremy makes some finishing touches to the screen.
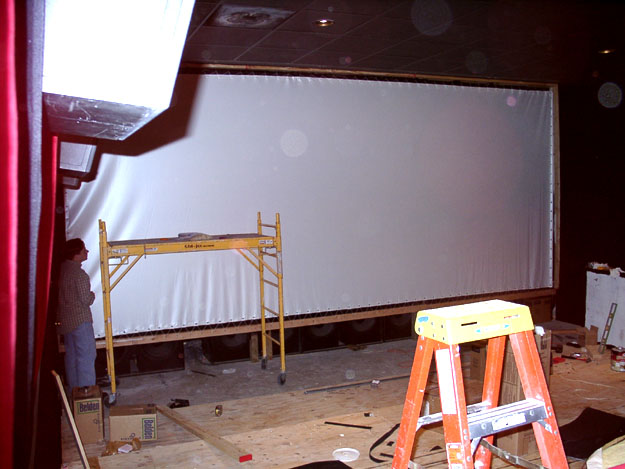
It will take a few days for the screen to settle and completely flatten out.
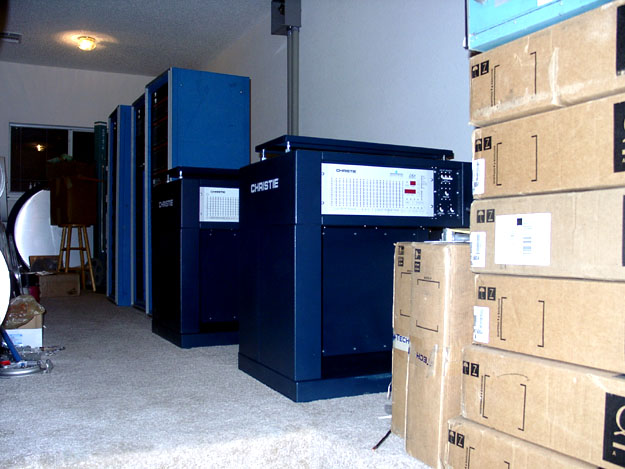
Meanwhile new pedestals and automations have been delivered and part of the sound racks have been built.
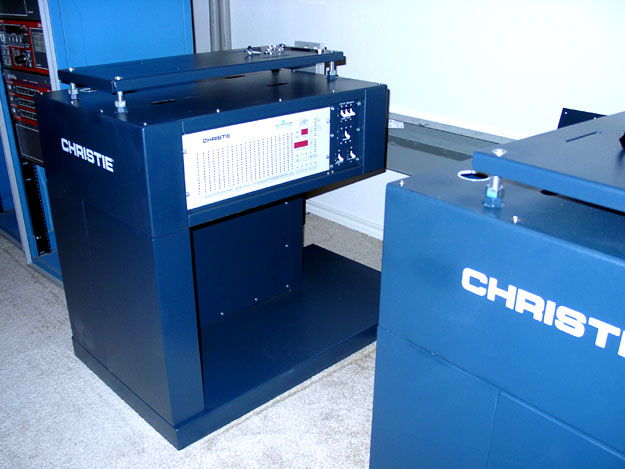
Christie does not make this pedestal style anymore, but they were perfect for our situation as they permit our Strong power supplies to rest inside the opening below the automations.
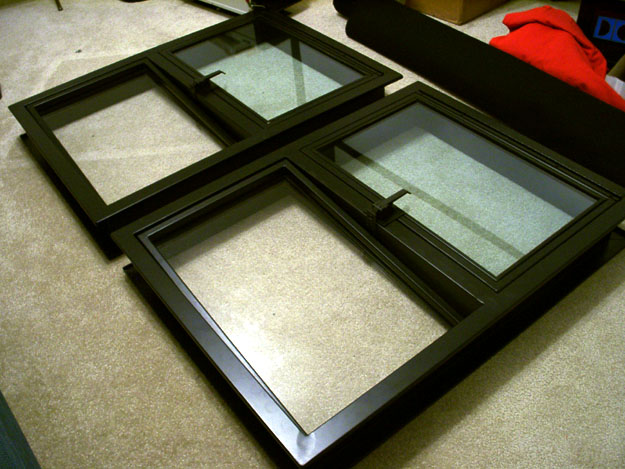
And now it's time to install the port windows. Note the HUGE difference in light passage on the left "projection" window (optical glass) to the right "viewing" window (plate glass).
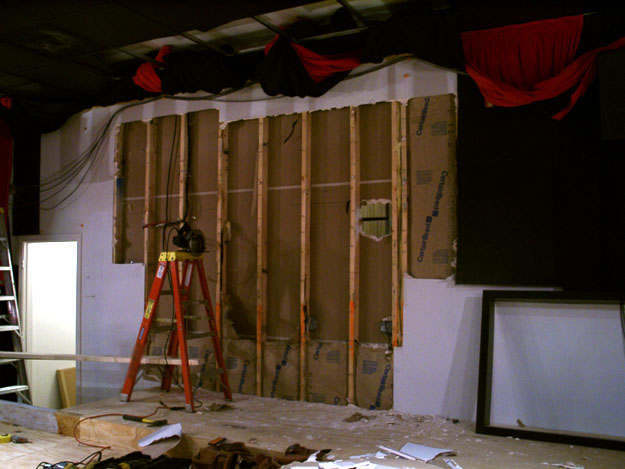
And the cutting of the wall begins...
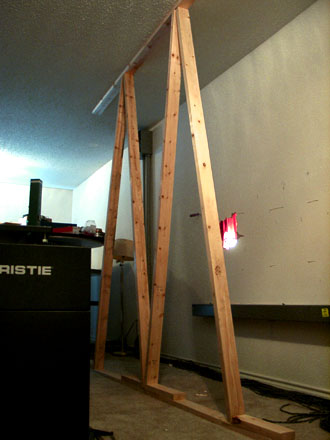
...after of course the ceiling has been carefully braced!
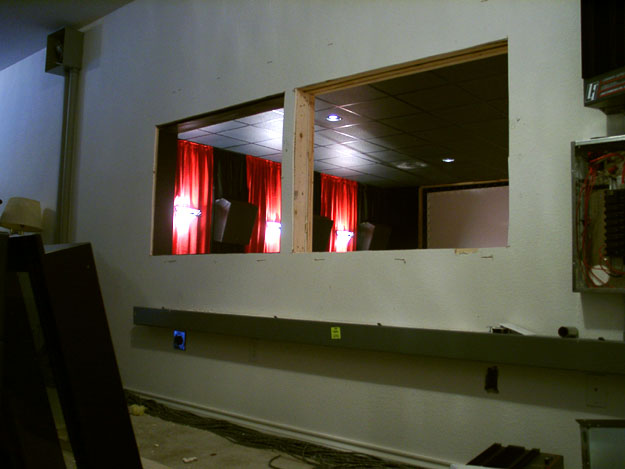
Here is a shot of the finished openings that have been braced to handle the load bearing weight of the ceiling. At this point, very little of the booth has been completed.
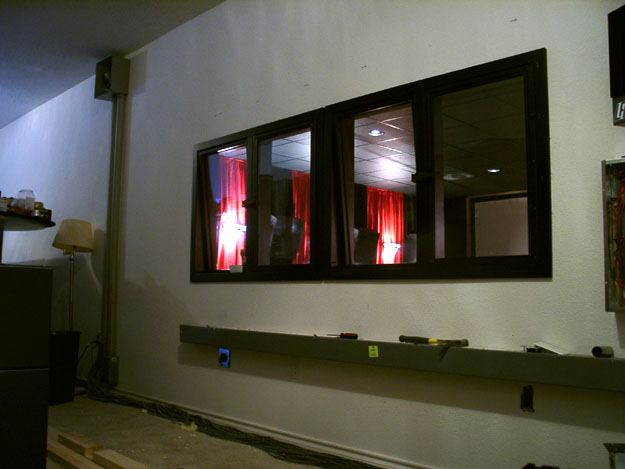
And here is that same shot with the windows finished and in place.
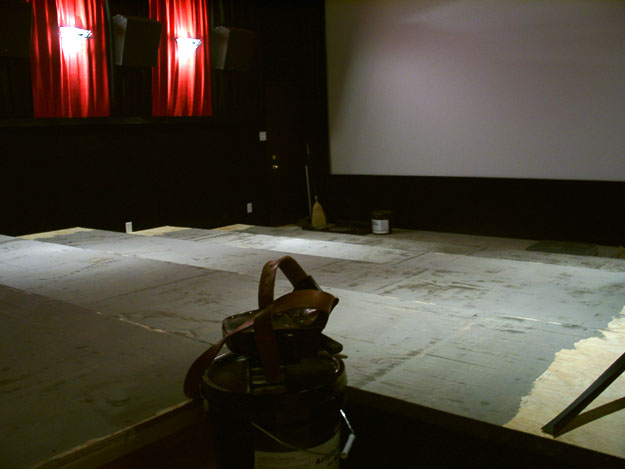
Once the screen masking is in place, it's time to tile the floor.
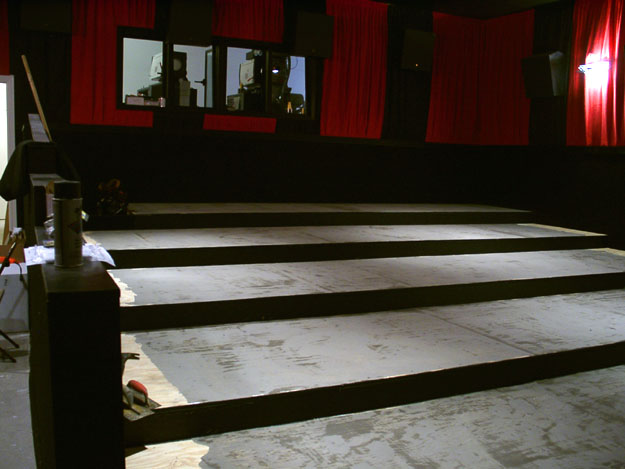
The floor is prepped...
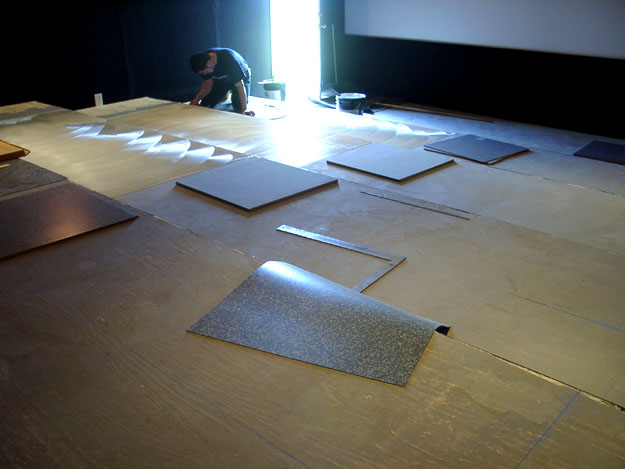
...and the tiles are laid down.
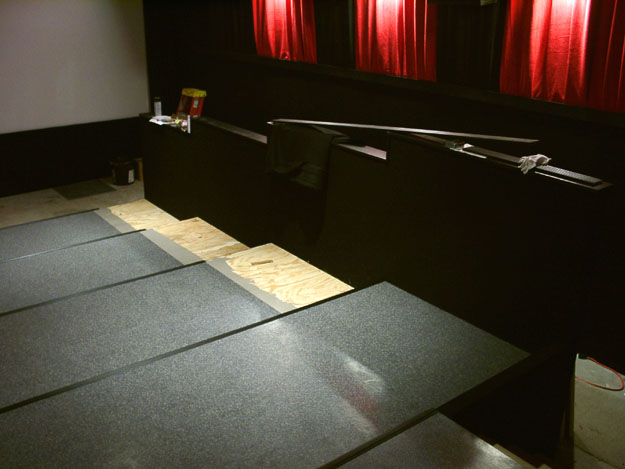
The edges of the risers are not tiled as they will ultimately have carpet on them.
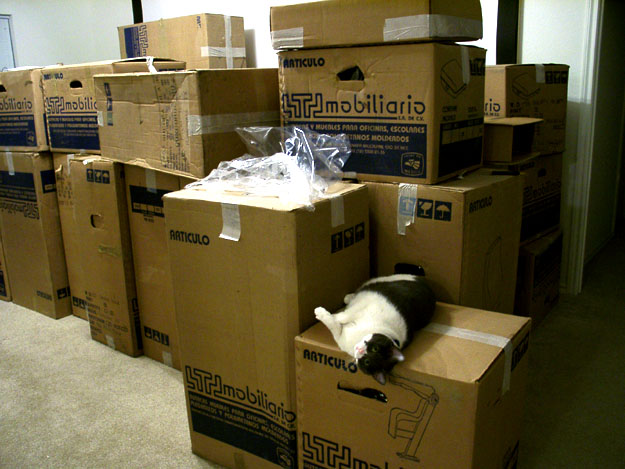
Meanwhile Kitty has been guarding the chairs.
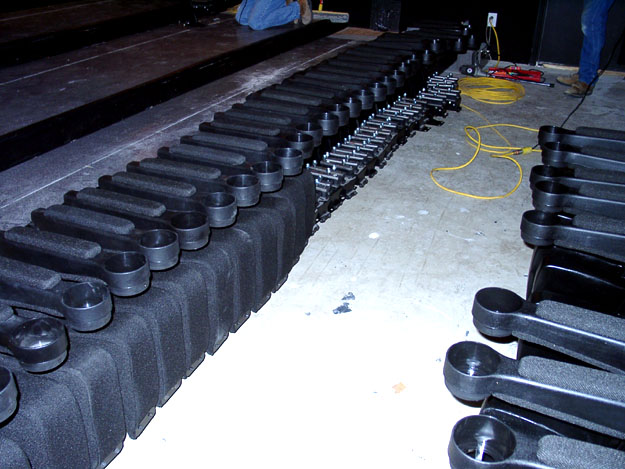
The various pieces of the chairs are lined up, ready for installation.
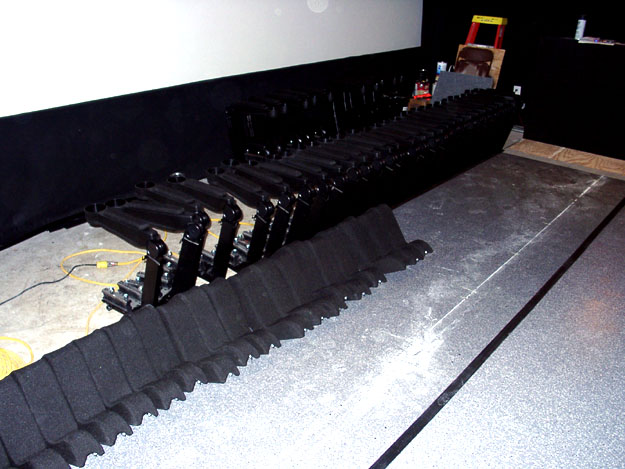
You can see the chalk guidelines already on the tile.
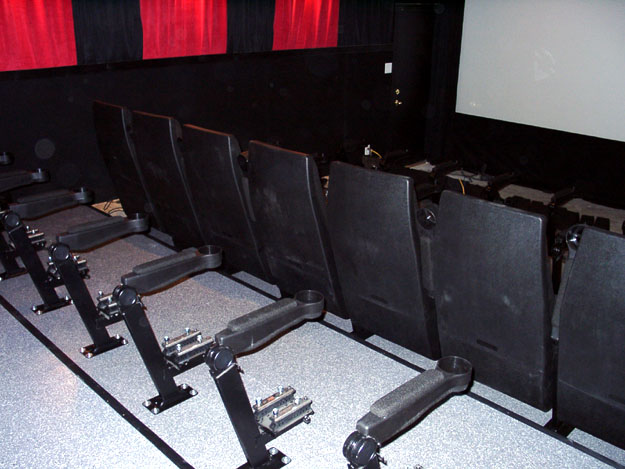
Row by row the seats are installed.
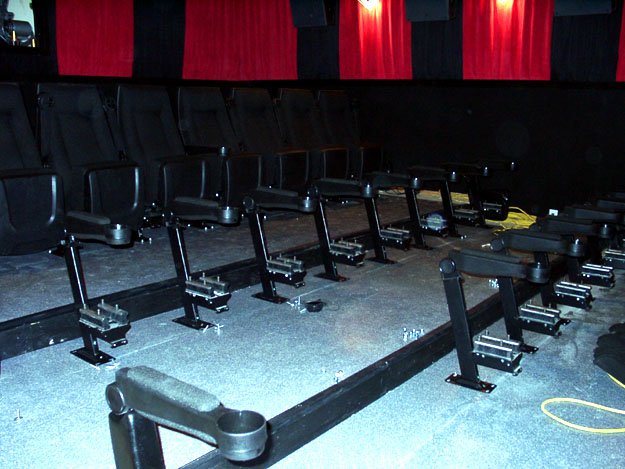
This took the better part of a day to complete.
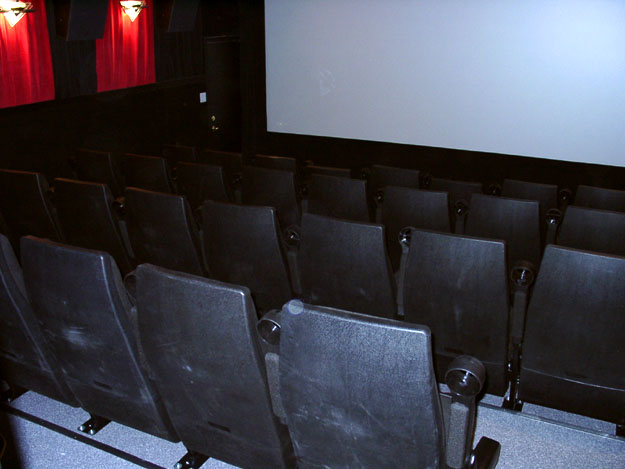
The finished seating.
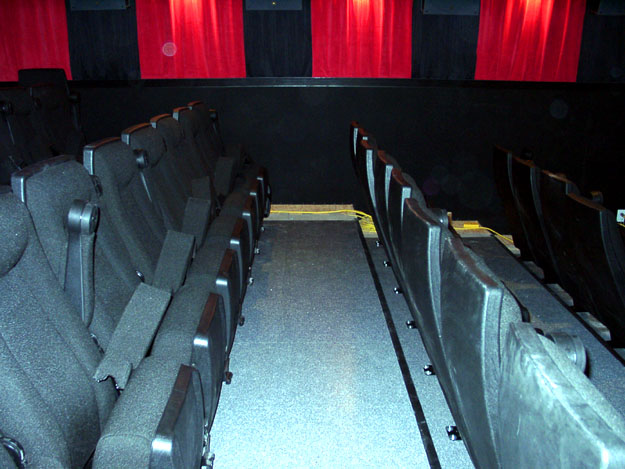
Extra wide 4 foot rows permit plenty of legroom.
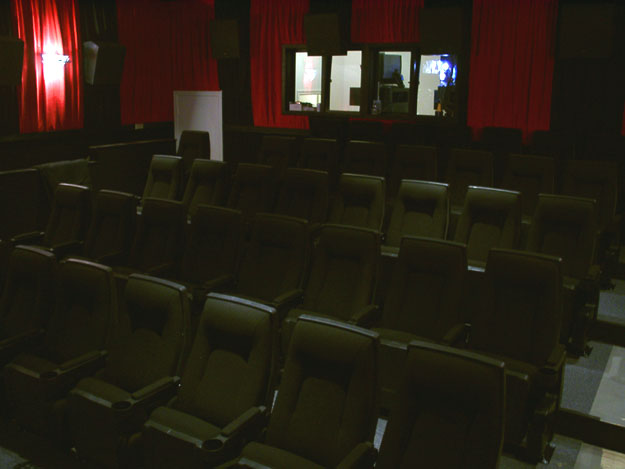
By this time, the left projector is functional and despite the lack of carpet, the first image hits the screen. Carpeting will be the only other thing left to do inside the auditorium as of the time this picture was taken.
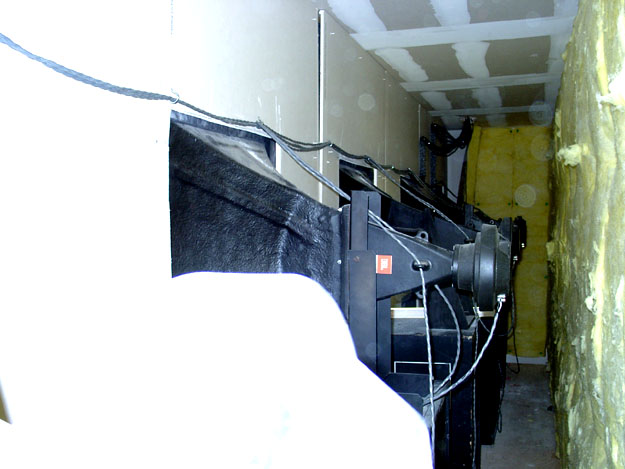
Here are some shots behind the screen for those interested.
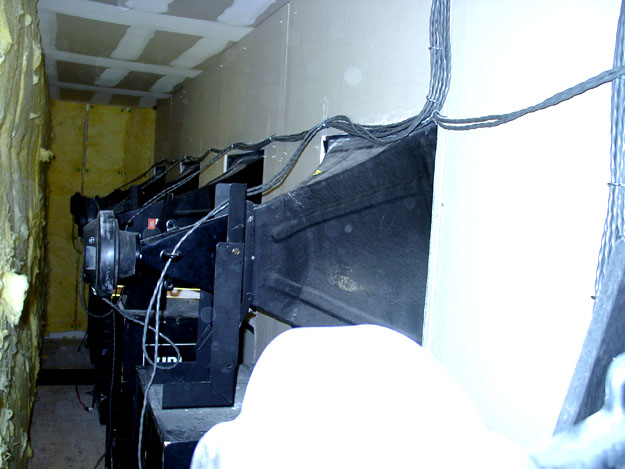
The system is bi-amped, so each channel has two speaker lines feeding it. Note the access panel in the bottom left of this picture (between the right and right extra speaker).
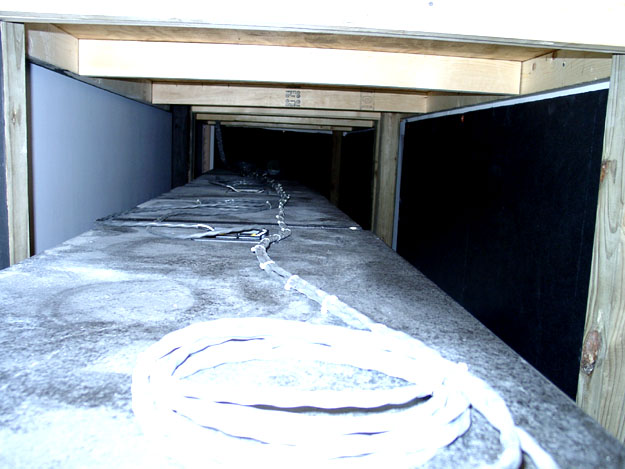
Below the stage are the 5 dual subwoofers. Each subwoofer gets it's own speaker lead as well. (As a reference point, the screen is on the left. The black on the right is more sound padding.)
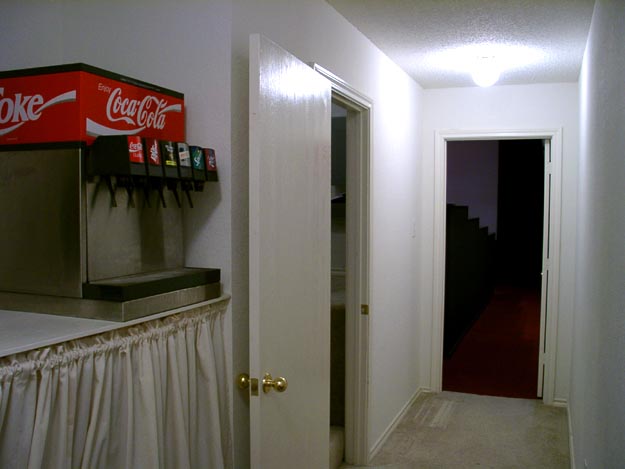
Here are the finished pictures. In the entrance hallway beside the booth is a Lancer counter electric Coca-Cola machine. The CO2, BIBs, carbonator and pumps reside below behind the curtain.
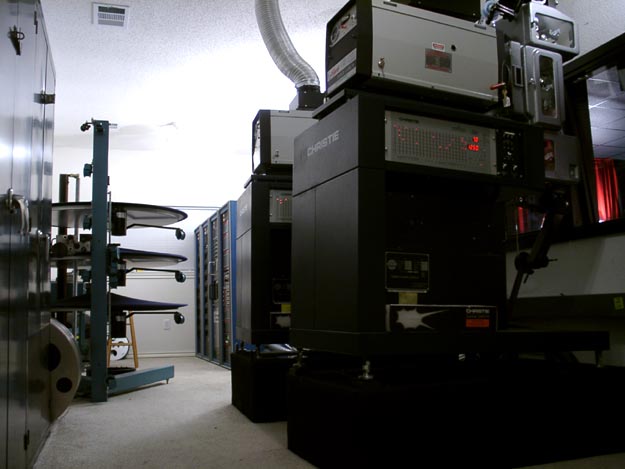
The finished projection room. Do note this installation is no more. The last show ran on September 7th, 2009. The left projector had ran 408 hours and the right projector had ran 451 hours. The booth was disassembled on September 8th, 2009. The auditorium is 100% intact...speakers, screen, curtains, etc for a future homebuyer.
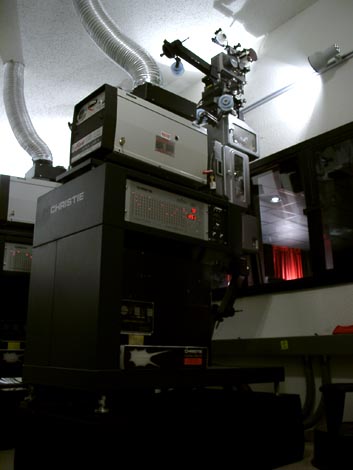
Most all formats are represented here. Films may be run 2 projector changeover...
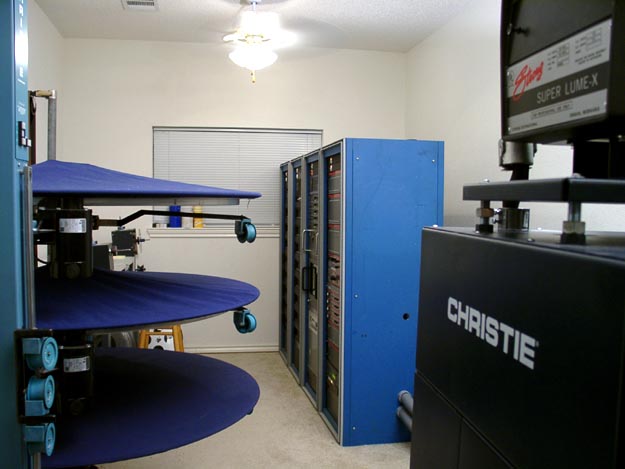
...or off of a platter. The platter can feed either projector.
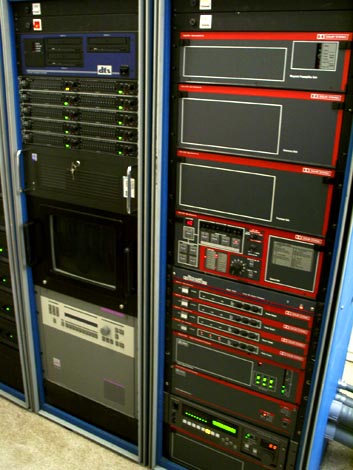
Here is the sound rack. On the right we have Dolby MPU-1, CP200 Aux unit, Processor unit, Control unit, SRA-5 adaptor, Power Supplies, DA20, SA10, Sony DFP-3000 and a second Aux unit at the bottom. On the left we have a dts6-D player, 10 user adjustable graphic EQs for making minor changes without disrupting the master calibration settings inside the processor, an HTPC (for the DLP projector), the monitor and finally a CDS digital unit. To run CDS, the SDDS reader(s) must be unmounted from the projectors to make room for the CDS reader on top of the projectors. This CDS system has 2 readers and can run 35 or 70 changeover.
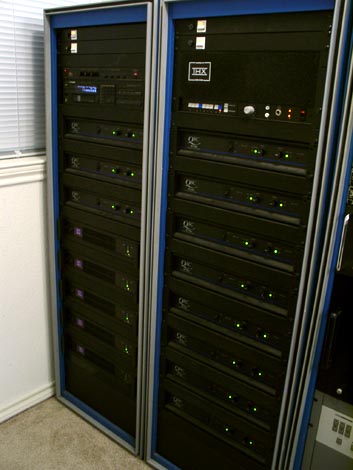
THX crossover/monitor, 11 QSC mx-1500a amplifiers (for stage and surround speakers), 5 QSC DCA2422 amplifiers (for the subwoofers) and on top the non-sync cd player.
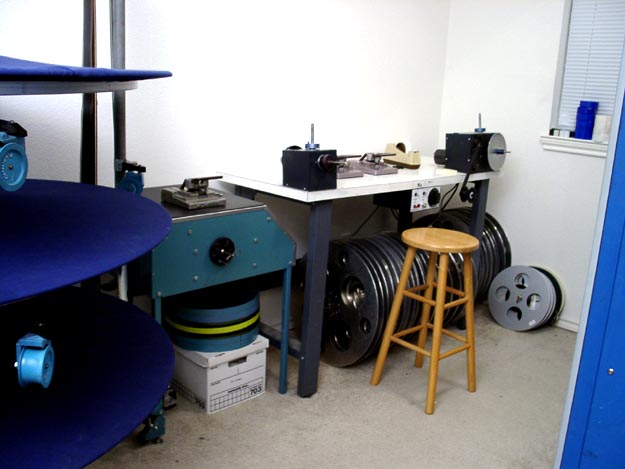
The buildup workstation. The AW3 platter's 70mm conversion kit is stored in the box below the MUT. Not shown here is the ultrasonic splicer.
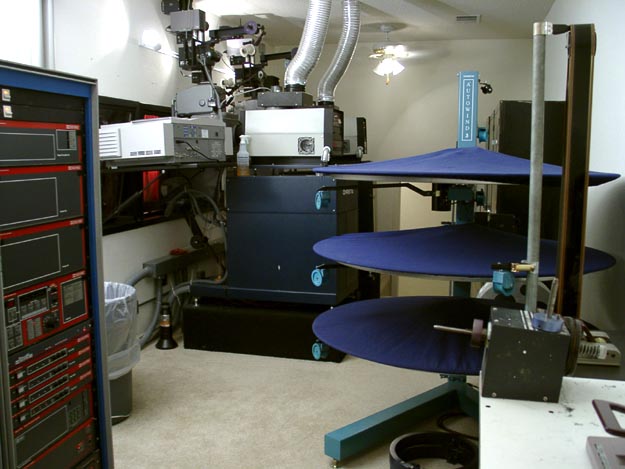
Reverse shot of the projection room.
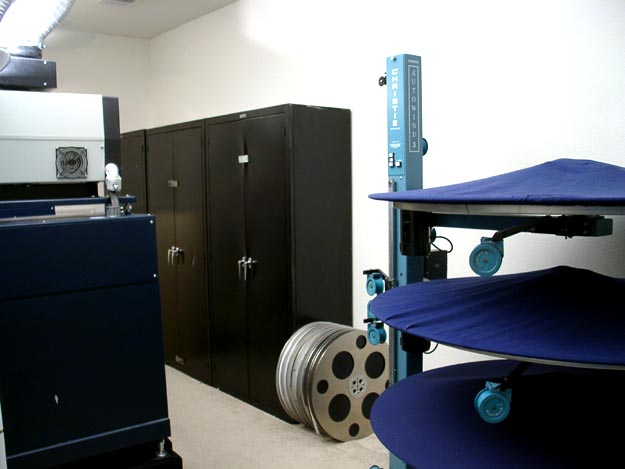
Another angle showing the parts storage cabinets.
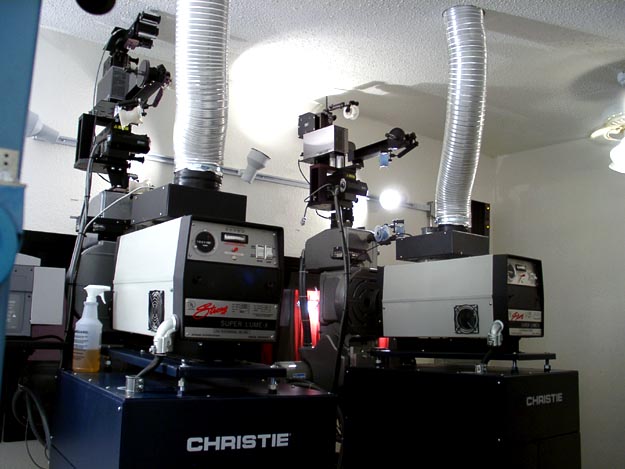
Rear shot of the changeover setup.
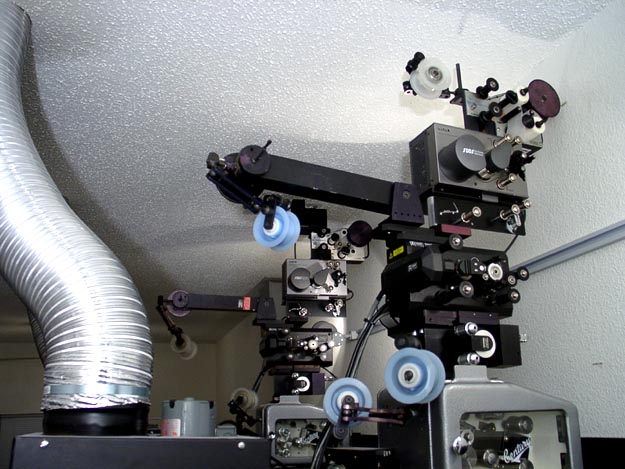
The projectors. From top to bottom, dts70 reader (currently only mounted on the left projector), film cleaner, SDDS reader, film stabilizer, cat701 SRD reader, dts reader, 35/70 magnetic penthouse...
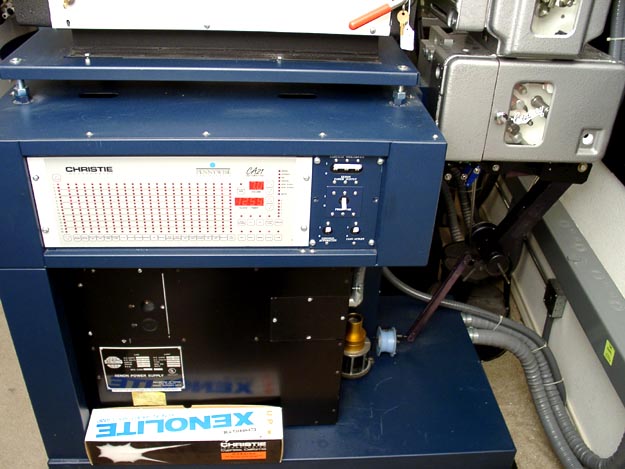
...35/70 projector and 35mm optical soundhead. The system is currently using 2000 watt lamps and the entire system is controlled from a Christie/Pennywise CA21 coupled automation system. The system is frame accurate on changeovers and the booth can be ran completely unattended, except when the next reel must be loaded. The projectors can handle up to 24 inch reels (6000 feet).
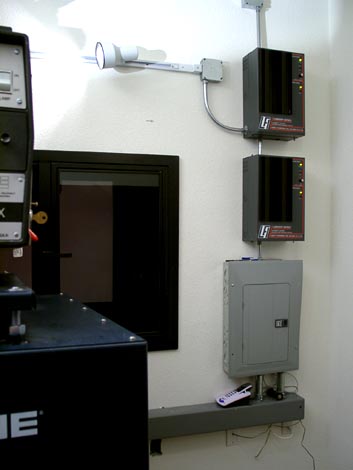
Sub panel breaker box and light dimmers for the auditorium and the booth.
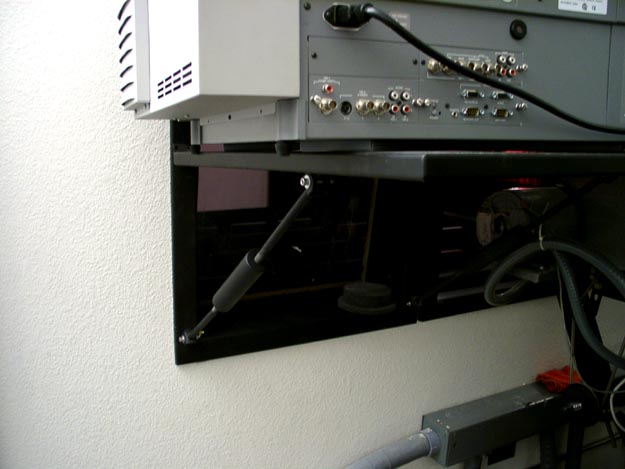
Here is the newly added 5th port window with shelf rated for 250 pounds. The DLP sits on the shelf, leaving room for an evil slide projector below.
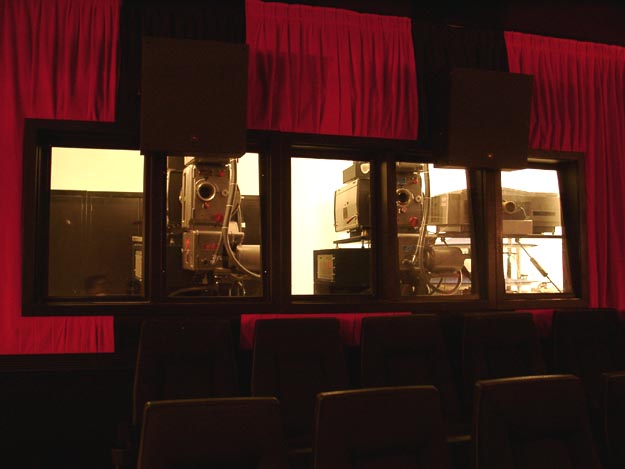
Auditorium shot of the finished port windows.
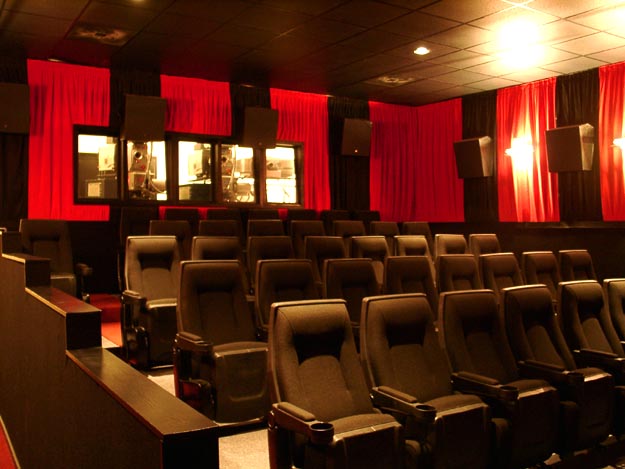
And that's all there is to it. Simple! SPECS: - 2 projector changeover system with platter option covering the following picture formats (1.33, 1.66, 1.85, Super35, 2.21, 2.39); Century JJ/TR4 projectors with Kelmar led reverse scan readers, Teccon 70mm mag heads and Ampex 35mm mag heads; Schneider lenses used in all 35mm formats. ISCO lenses used for 70mm; Strong Super Lume X lamphouses running 2000 watt xenons with Strong switcher power supplies; Christie pedestals
Christie/Pennywise coupled CA21 automations programmed for unmanned frame-accurate automated changeovers and/or platter operation; Christie AW3R 35/70 platter with MK makeup table; Dolby CP200 studio sound processor with loaded AUX rack and all upgrades; Dolby MPU1 loaded; Dolby DA20 Dolby Digital decoder; Dolby SA10 Dolby Digital EX decoder; DTS 6-D digital player with 35mm and 70mm readers; Sony DFP-3000 SDDS digital player; Cinema Digital Sound (CDS) digital player; THX 3417 5 channel crossover; 16 QSC MX-1500 and DCA2422 amplifiers; 5 JBL 4675C-8LF stage speakers; 5 EV T-880 18" dual subwoofers; 12 JBL 8340 surround speakers; Christie VP2K DLP projector; BT Tech HTPC image server; JVC HM-DH3000U High Definition D-VHS deck*; Panasonic WJ-MXAV5 signal mixer*; JVC DVD player with Dolby Digital decoding*; Pioneer LaserDisc player*; Metric ultrasonic splicer*; Neumade 35SS and 70SS tape splicers; Kelmar RTV-8500 rewind bench; ProWin customized optical projection port windows; 39 Mobilario Concorde Rocker chairs; Harkness microperf 23 foot screen. * Indicates Not Shown.
| 
 Home
Home
 Products
 Store
Store
 Forum
Forum
 Warehouse
 Client Login
 Contact Us


 Home
Home
 Products
 Store
Store
 Forum
Forum
 Warehouse
 Client Login
 Contact Us
